Building your own Blog with Ghost | Docker | Apache2

Hello, if are interested in setting up your own blog for a low cost this post is for you, we will cover how to set your blog up using Ghost + Docker + Apache2, and you will be able to share with the world your amazing ideas, cakes recipes or photos of your pet.
first of all, we can cover briefly a review of our tech stack:
Ghost
first of all, we can review Ghost, from the official website ghost is defined as:
Ghost is a powerful app for new-media creators to publish, share, and grow a business around their content.
I can say that Ghost is an open-source project that you can use to create your own newsletter or blog, Ghost is a headless cms powered by Nodejs-Express, you can use some subscription plans from ghost.com in which you will have your site running in their cloud, or well, you can install it on your own machine and use it under your own administration, so, for this tutorial we will take this second option.
Docker
Docker is great, everybody loves it, why? because simplifies your life and made it easy, for this reason, we can go forward in setting our ghost up with docker, in that sense, we don't need to worry about installing and config a database, running scripts and updates for our ghost site, or whatever else.
why just need to use the Official Ghost Docker image from the Docker hub in:
you can try it with this simple command:
docker run --rm -e NODE_ENV=development -p 2368:2368 ghostwith this command, we will be running a new container with the official ghost docker image in port 2368, but, it not is ready for deployment because it uses an SQLite database and doesn't have https so it is not fun.
Apache2
Apache is an old-school tool, from their official site they define them as:
The Number One HTTP Server On The Internet
The Apache HTTP Server Project is an effort to develop and maintain an open-source HTTP server for modern operating systems including UNIX and Windows.
ok, at this point you will be wondering why not Nginx? well, my server already is running with Apache, and is more common to find tutorials with Nginx rather than Apache so, if Apache is "The number one HTTP server on the Internet" why not show how to do this setup using Apache instead of Nginx.
Where host it?
That is the next question, for this issue, you have several options, you can host your blog on your own server under your stairs, but nowadays is more common to use cloud solutions, like:
- AWS
- Google Cloud
- Azure
- Digitalocen
- Oracle Cloud
in all of them, you can have a Virtual Machine with a public IP address.
Step 1
Let's suppose you have already chosen a VPS (virtual private server) aka (Virtual Machine on the cloud with a public IP address) and you have a ssh connection with it.
as Ubuntu is the most popular Linux distro, let's suppose you have your VPS running under ubuntu.
the first step is to install apache2 with
sudo apt update
sudo apt install apache2
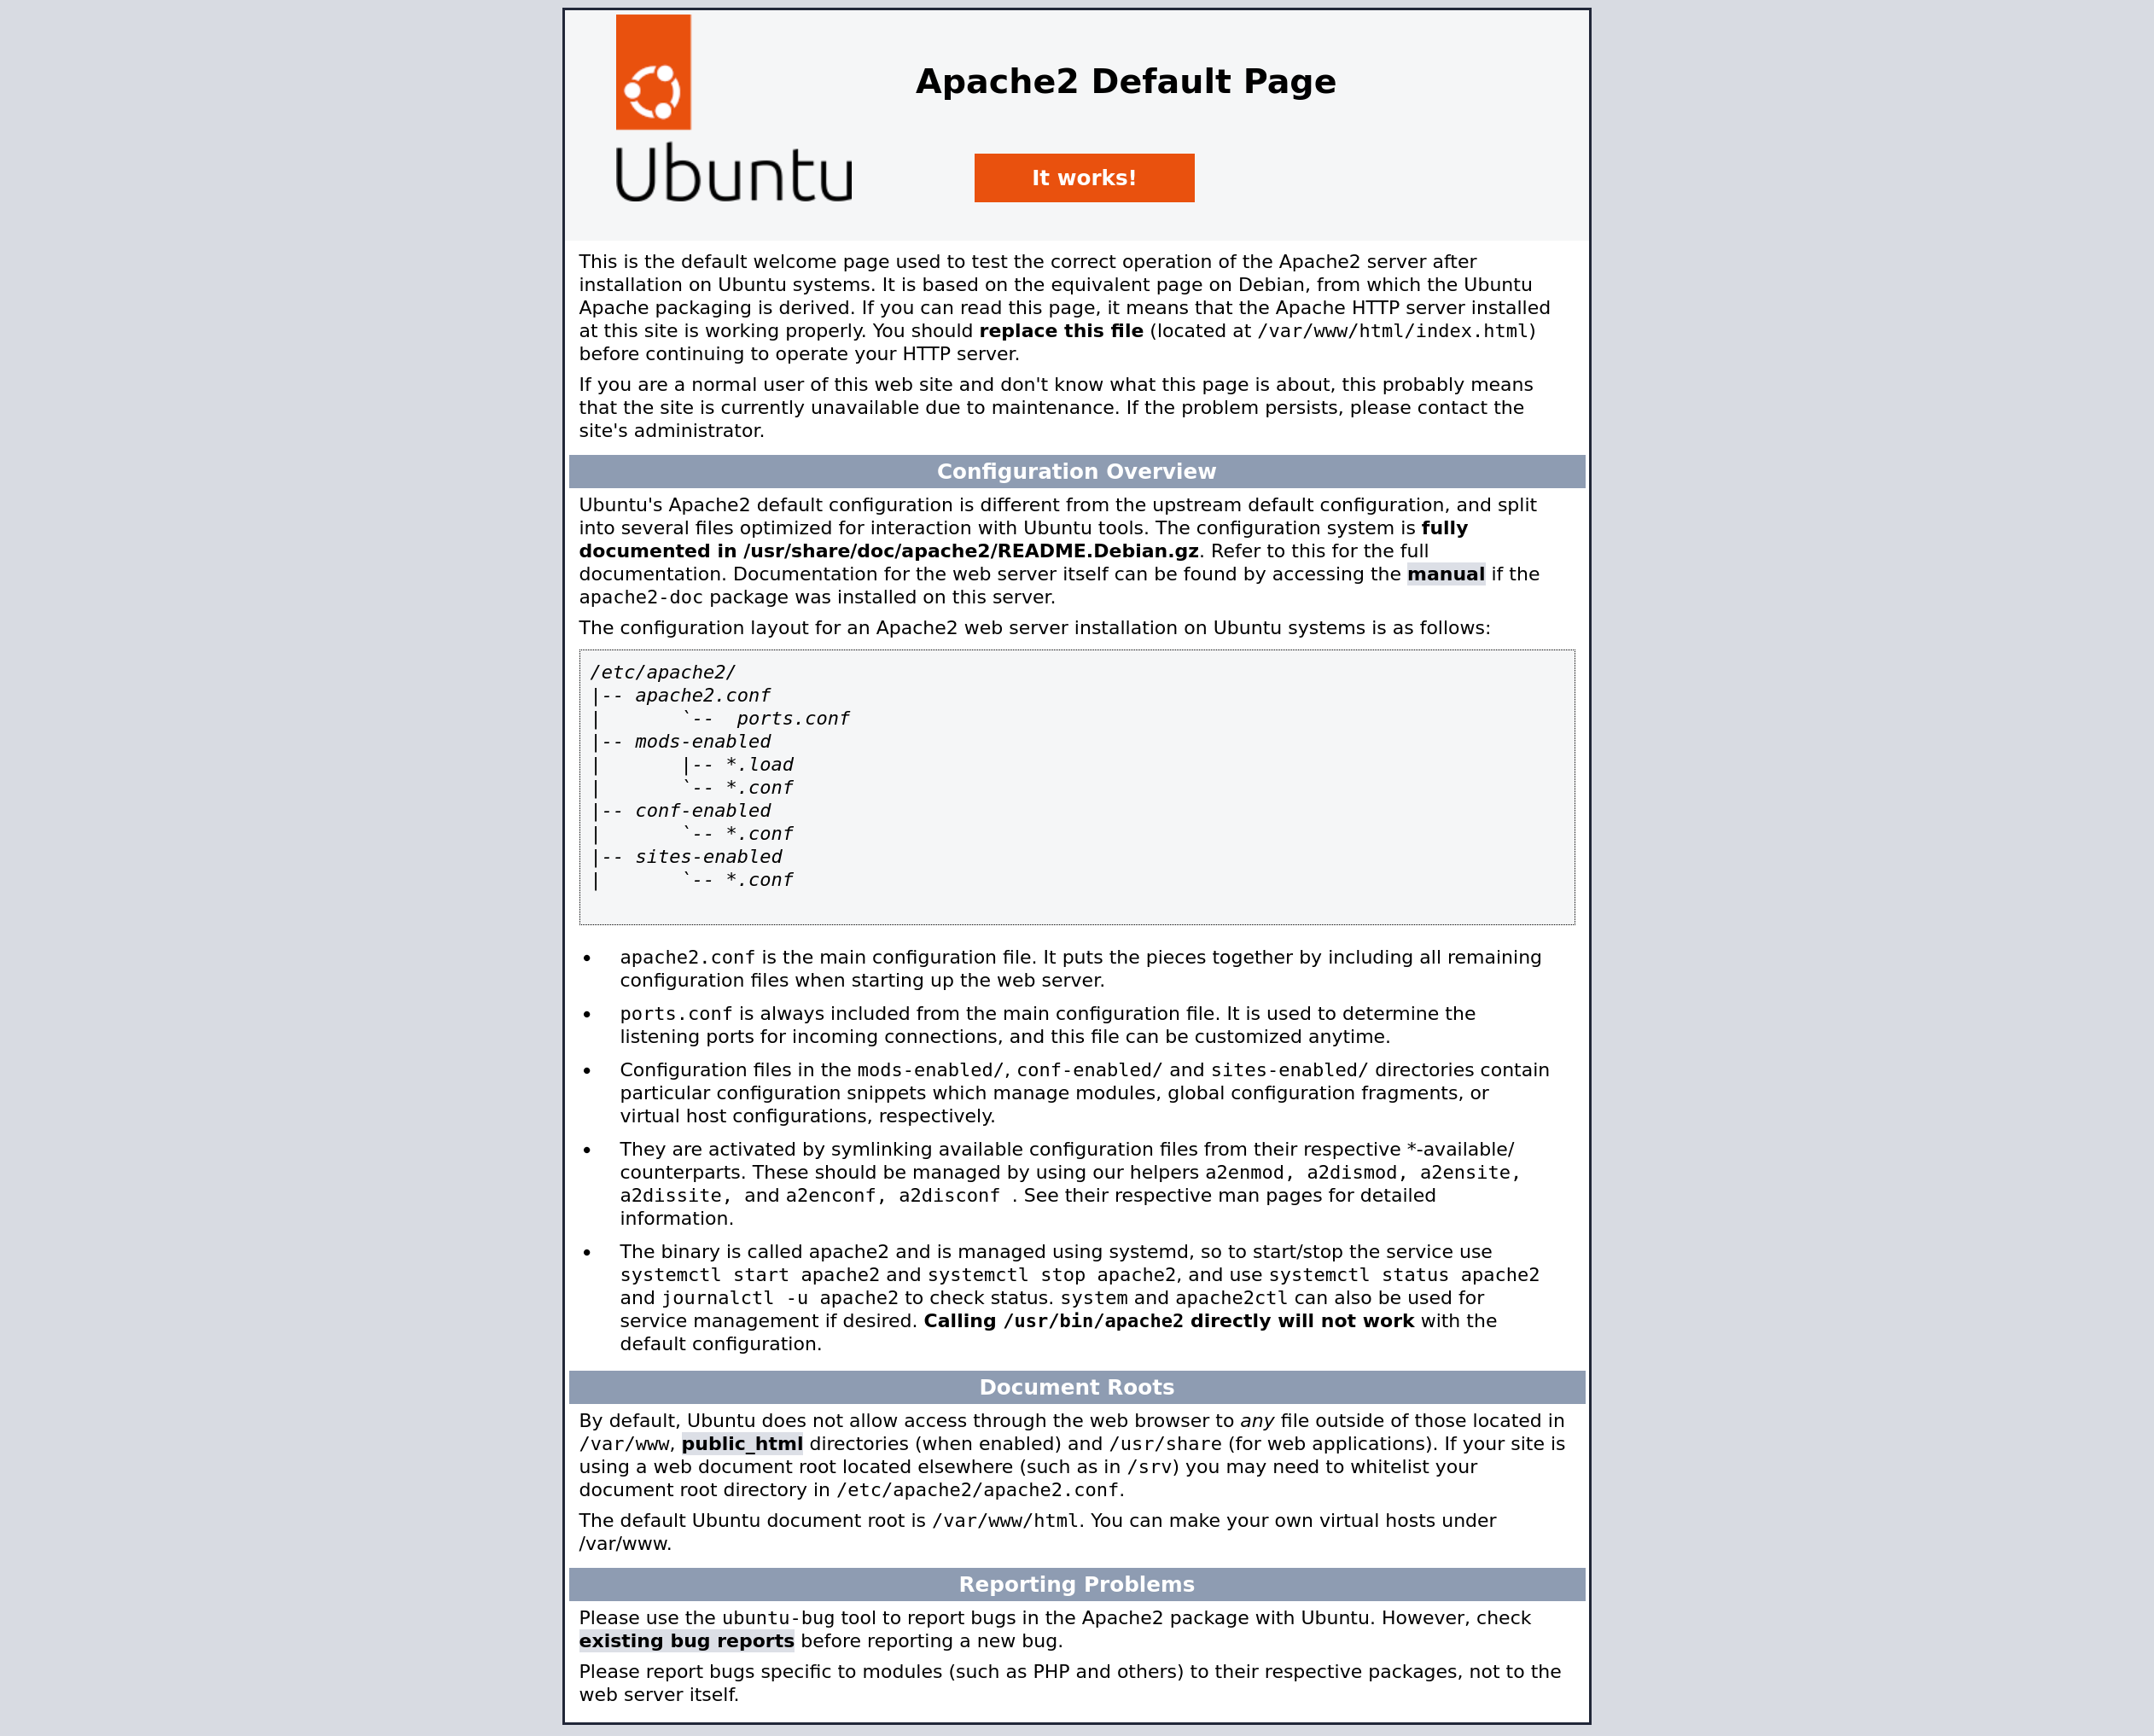
after running this command you can visit your IP address and you will see the welcome page of Apache:

Congrats! you have your apache2 server running.
find more info about installing and config apache2 at
https://ubuntu.com/tutorials/install-and-configure-apache#1-overview
Step 2
Let's install docker and docker-compose in your VPS, with:
sudo apt install docker docker-composethe following step is to create the docker group to run docker commands without typing sudo
sudo usermod -aG docker ${USER}to apply the new group
su - ${USER}once done, you will be able to run docker --version successfully to test that docker is running.
create a folder to store your docker-compose file, we can name it as blog:
mkdir blog
cd blog
next, let's go to create a docker-compose.yml file with the following content:
version: '3.1'

services:

  ghost:
    image: ghost:5
    restart: always
    ports:
      - 8080:2368
    volumes:
      - ghost-data:/var/lib/ghost/content
    environment:
      # see https://ghost.org/docs/config/#configuration-options
      database__client: mysql
      database__connection__host: db
      database__connection__user: root
      database__connection__password: my-super-secure-password
      database__connection__database: ghost
      url: http://public-server-ip

  db:
    image: mysql:8.0
    restart: always
    environment:
      MYSQL_ROOT_PASSWORD: my-super-secure-password
    volumes:
      - db-data:/var/lib/mysql

volumes:
  ghost-data:
  db-data:
with this file, in place, we are up for running our contained ghost blog with:
docker-compose up -dStep 3
Setting apache2 as a reverse proxy to redirect the traffic from our server's public IP to the Docker container app.
first, let's go to install the required dependencies:
sudo apt-get install libapache2-mod-proxy-html
sudo a2enmod proxy
sudo a2enmod proxy_html
sudo a2enmod proxy_http
sudo a2enmod headers
next update your site configuration file in /etc/apache2/sites-available/000-default.conf
you should amend the following configuration:
<VirtualHost jenkins.mycompany.com:80>
  ServerName jenkins.mycompany.com
  ServerAdmin webmaster@localhost

  ProxyRequests Off
  <Proxy *>
    Order deny,allow
    Allow from all
  </Proxy>
  ProxyPass / http://localhost:8080/
  ProxyPassReverse / http://localhost:8080/
  RequestHeader set "X-Forwarded-Proto" expr=%{REQUEST_SCHEME}
  RequestHeader set "X-Forwarded-SSL" expr=%{HTTPS}

  ErrorLog ${APACHE_LOG_DIR}/error.log
  CustomLog ${APACHE_LOG_DIR}/access.log combined
</VirtualHost>
The important lines are the middle block where are the Proxy setup and the Request headers for X-Forwarded
once done, you should restart the apache2 service
sudo systemctl restart apache2after all this, you are done!
Conclusion
Is easy to run your own blog in your own VPS, you just need to run a couple of commands and update some files, after that, you can go for your coffee cup and start to share your ideas on your own site.
Note
Don't miss my next posts I will show you how to set up your SSL certificate and your own domain for your new shinny blog.

Comments ()